Efficient Ways to Reduce Weight in DIY Lightweight Camper Construction
How to save weight? In our DIY Lightweight Camper Construction Guide we start with a practical example on how to cut unnecessary material off and how much difference it actually makes. Based on a small wooden construction to make use of otherwise dead space, I’ll show what you need to know and ways to do it.
I. Introduction:
As with the old times, before CAD and Computers, it was normal to overbuild things in order to somewhat guarantee the strength of a construction. That is about the same with DIY build I have seen all over the internet.
You basically have to options to construct something lightweight:
- Calculate how much material is really needed for it to work as intended or
- Knowing the material and how forces are applied and transferred.
The latter is the easiest to use for layman like me.
II. Strategic Material Removal for a DIY lightweight camper construction
Knowing what the piece of material I am adding to my construction and what it needs to do for the construction to hold, I then can determine where I have excess material that I can cut off. I tend to use just a few safe simple shapes since the shape itself plays an important role for the stability. The shapes are:
- Circles
- Triangles
- And as an element of design a hexagonal shape
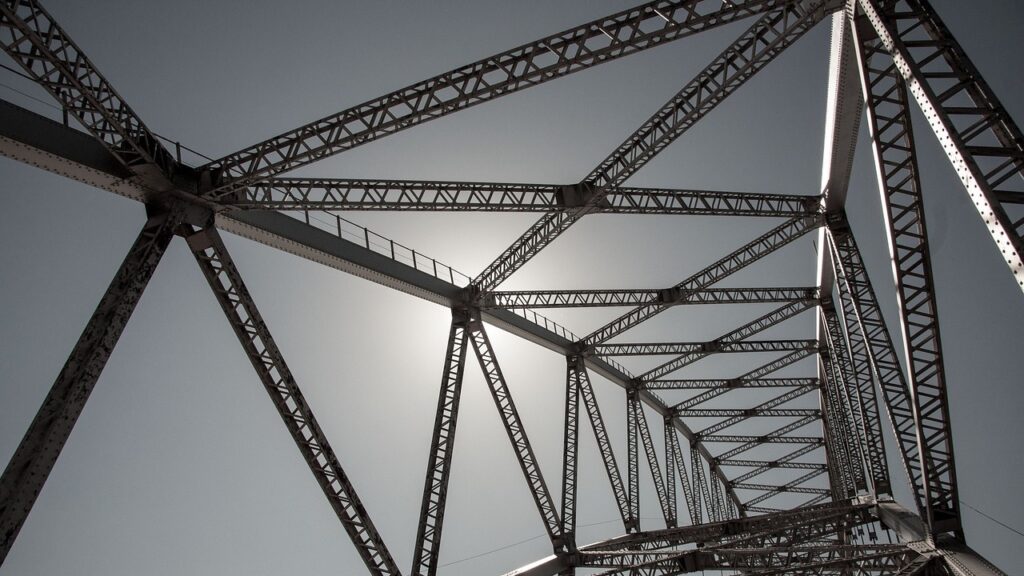
What you want to avoid are sharp angles, as these will act similar to tear notches. Look at how bridges are constructed and build. If you see the similarities, you can easily take an educated guess where to shave off some material and ultimately save weight building your offroad camper.


III. Practical Example of a DIY lightweight camper construction
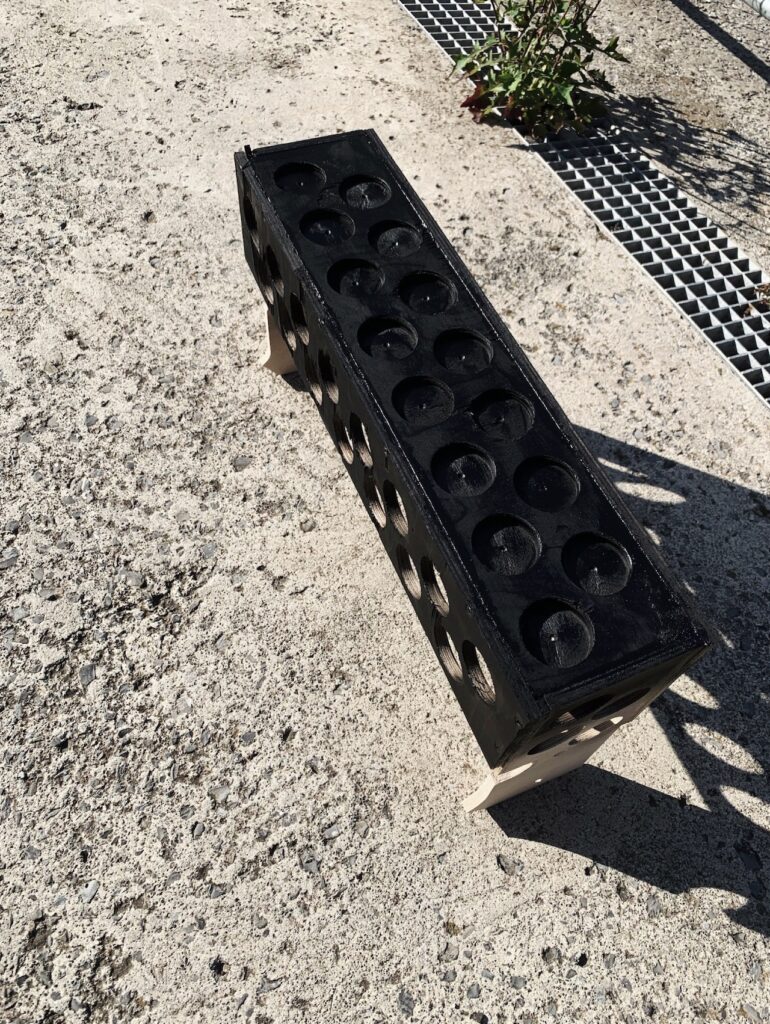
Let finally get to the practical example I promised. I wanted to have some dedicated storage for whats called a „Brotzeit“ in bavarian (some dialect of the german language). A snack consisting of bread, cold cuts, cheese etc. Meaning I wanted to store my Jetboil Zip for Tea or coffee, a cutting board and utensils easily accessible from the gullwing on the driver side.
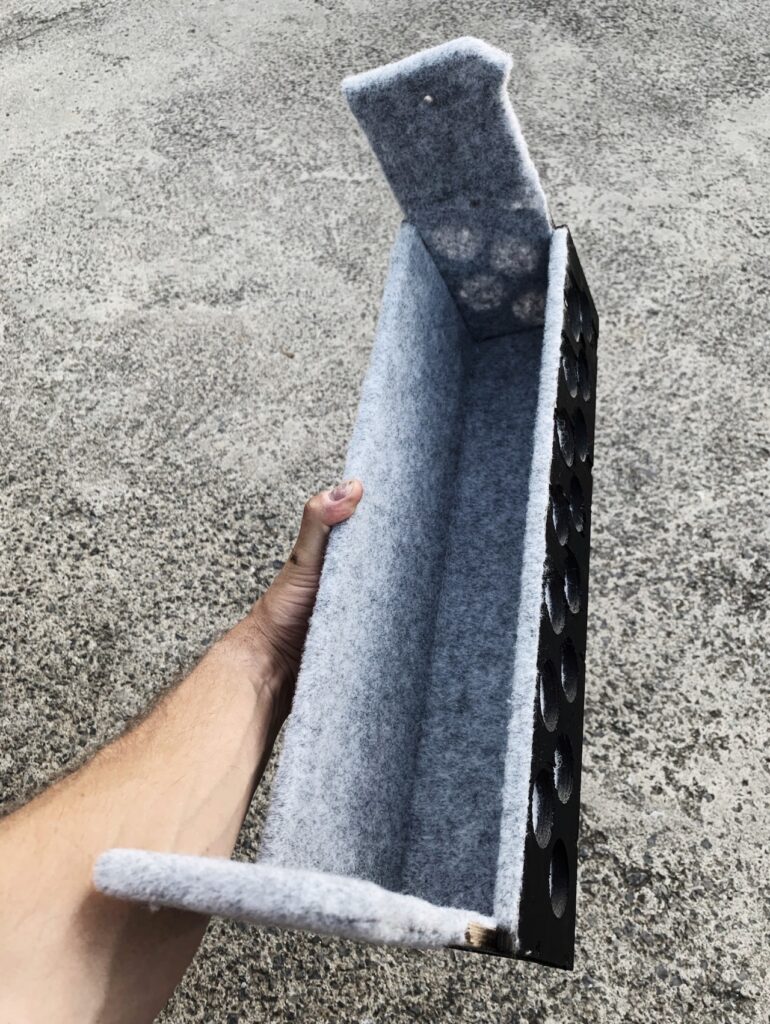
Knowing what to store helped me determine the size of the cutouts so nothing would be pertruding the felt that I will put over it to silence the rattle a little bit. (Bonus tip: Erring slightly on the bigger side, when measuring and cutting typically ends up as a snug fit, when felt is added. Or I just got lucky all the time.)


so nothing gets lost.
All in all I saved a little over third of the total weight of the wood before assembling. Please let me know if you expected this and if you think if it was worth it or not.
IV. Conclusion
In the pursuit of an efficiently constructed DIY lightweight camper, our focus on material optimization and strategic shaping brings us one step closer to a lighter, more agile offroad experience.

